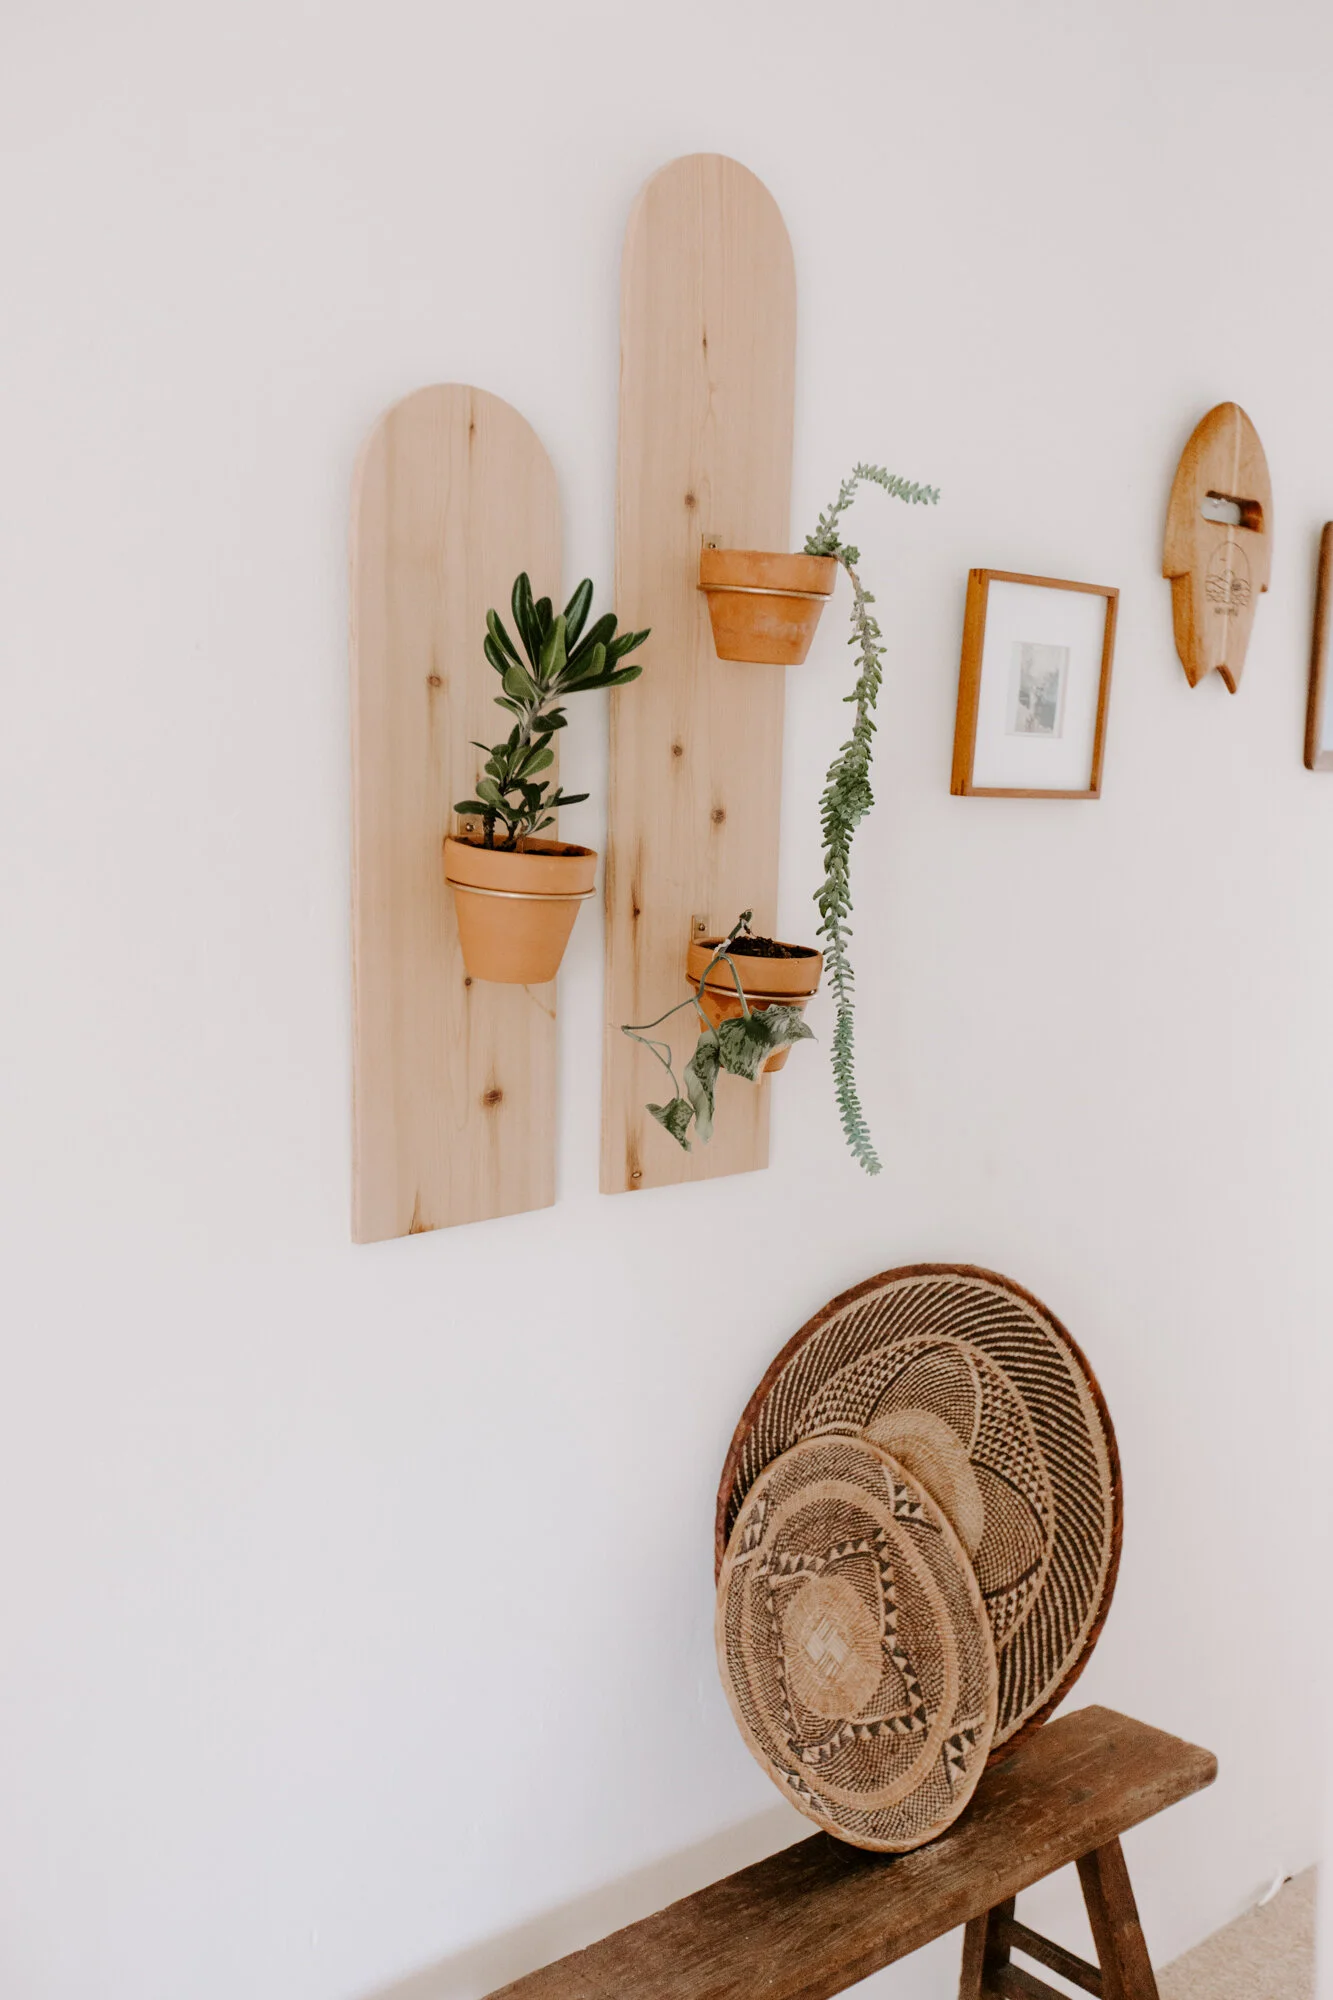
DIY Wall Plant Hanger
Here’s a fun new way to have plants in your house or on your patio! First here is what you’ll need!

These are affiliate links and I may receive a small commission if you choose to purchase through the links I provide below.
Two pieces of wood. I used 7.5in x 29.5in for the smaller piece and the bigger piece was 7.5in x 33in. Both about a half inch thick.
Band Saw
4 in Metal Wall Plant hanger (Screws comes with them)
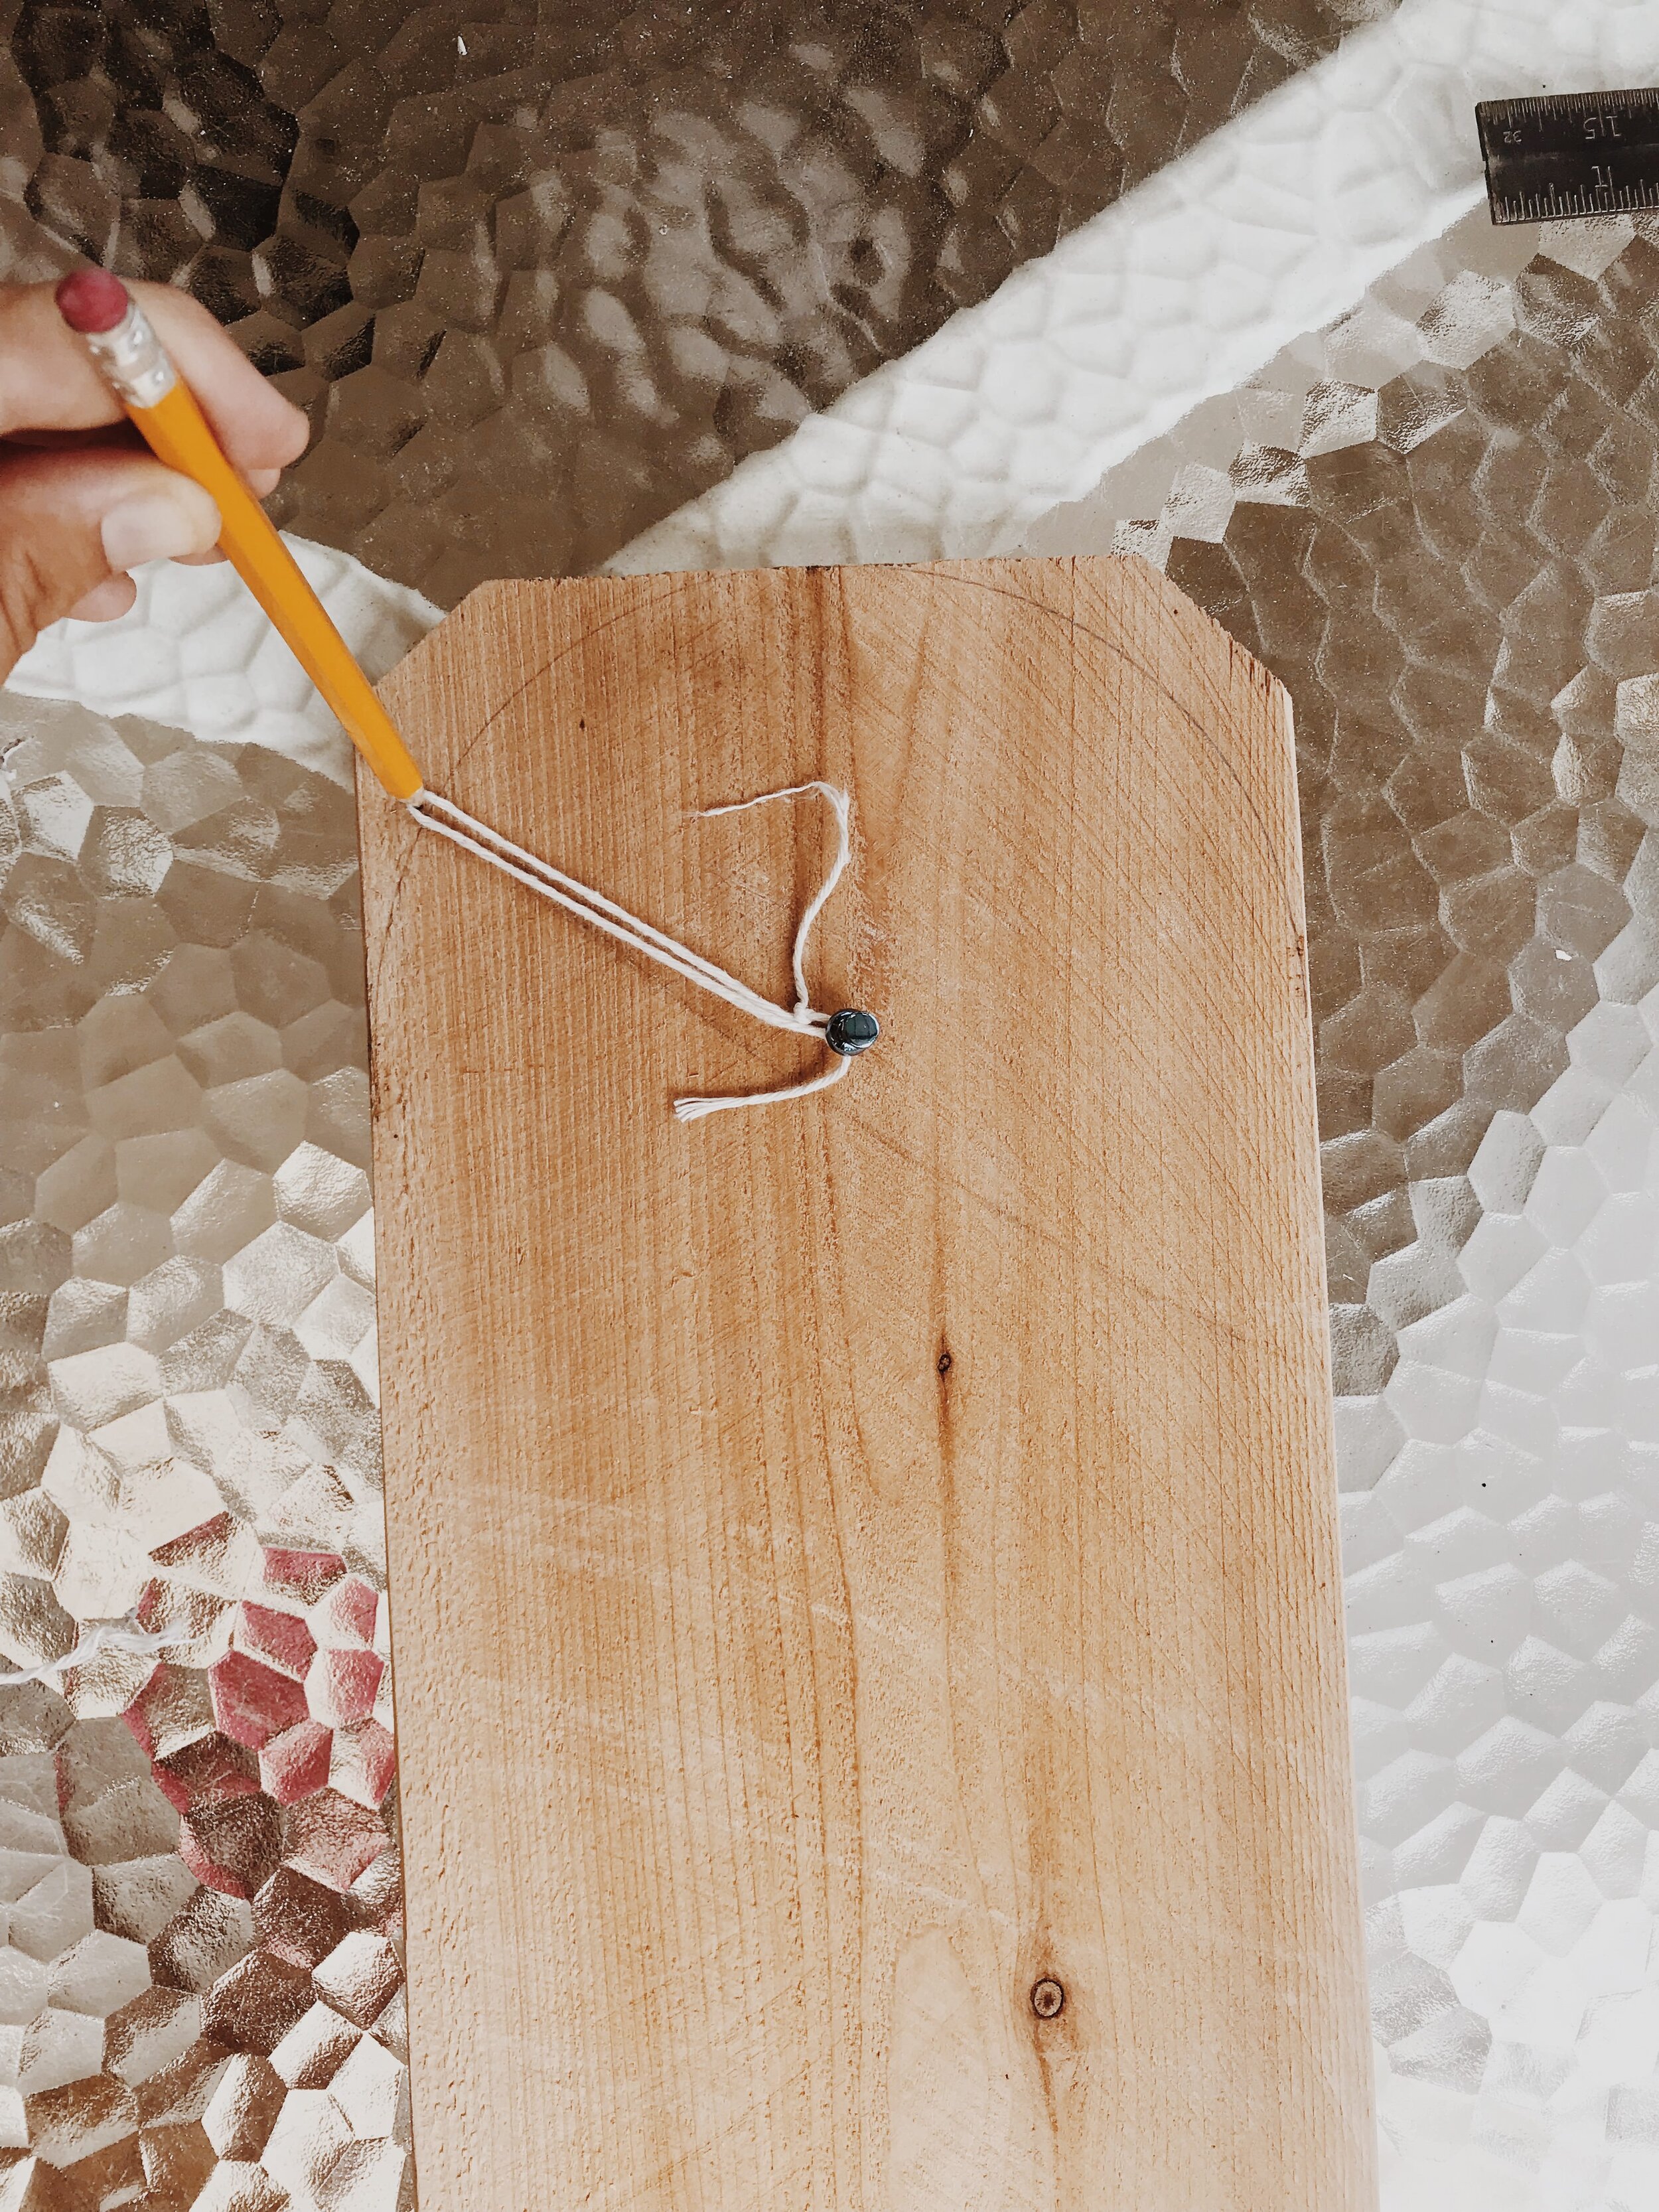
First measure out the center of your wood and drill a screw in the middle with the same distance from the top of the wood. From there tie a string around the screw and a pencil with the length that goes to the end of the board. Then use the string and pencil to draw a line on the wood for where you want to cut to make the curved top.
Cut the wood with a band saw, and then sand the top and sides so that you have a smooth finish.
Then paint your plant hangers gold.

Measure out where you want to place your plant hanger, then drill them in.

Then your plant hangers are ready to be hung! Trace out a spot on the wall and make sure the bottoms are lined up.

Once they’re drilled in, choose your favorite plants and place them in the hangers!

