DIY Beaded Plant Hanger

This is a great gift for mom, one of your girlfriends, or any plant lover! I would like to say this is an easy DIY, but I have to warn you there is a section that does get a little tricky. Don’t worry though! I took lots of photos and you’re going to do great!
What you’ll need!

These are affiliate links and I may receive a small commission if you choose to purchase through the links I provide below.
Sizers
Tape (optional)
Macrame Rope (optional)
Ok, Let’s Begin!
First take your string and cut 4 pieces that are 5ft long each. Then group them all together so that they are aligned and fold them in half. Take the middle where it’s folded in half and loop it around the wood ring and tie it in a knot. Once it’s in a knot, then add a 10mm bead through all the pieces of string. There should be 8 pieces of string hanging from the knot.

Divide the 8 strings into 2 each and separate.

For each section add 10 8mm Beads and then 1 10mm bead. Repeat this two more times.


Then for each section, divide each string so you are only working with one string at a time and add 6 8mm beads to each string.

Take a string from each section and combine them into two strings again and add 1 10mm bead to bring them together.

Repeat the previous step and add 6 8mm beads to each individual string.

Then bring the outside strings together to make it into a circle and close the hanger. Do the same thing previously with these strings. Take a string from each section and combine them into two strings again and add 1 10mm bead to bring them together. Then add 6 8mm beads to each individual string.


This is where it gets a little tricky… only because at this point it’s a little tricky to keep track of all the strings. All you need to do is repeat all the steps of adding beads for one more round.


Now you can bring them all together and put two 10mm beads on all the strings. Then tie a knot at the end.


This is where you can decide if you want to add a tassel or not. If you do, just follow these next steps!
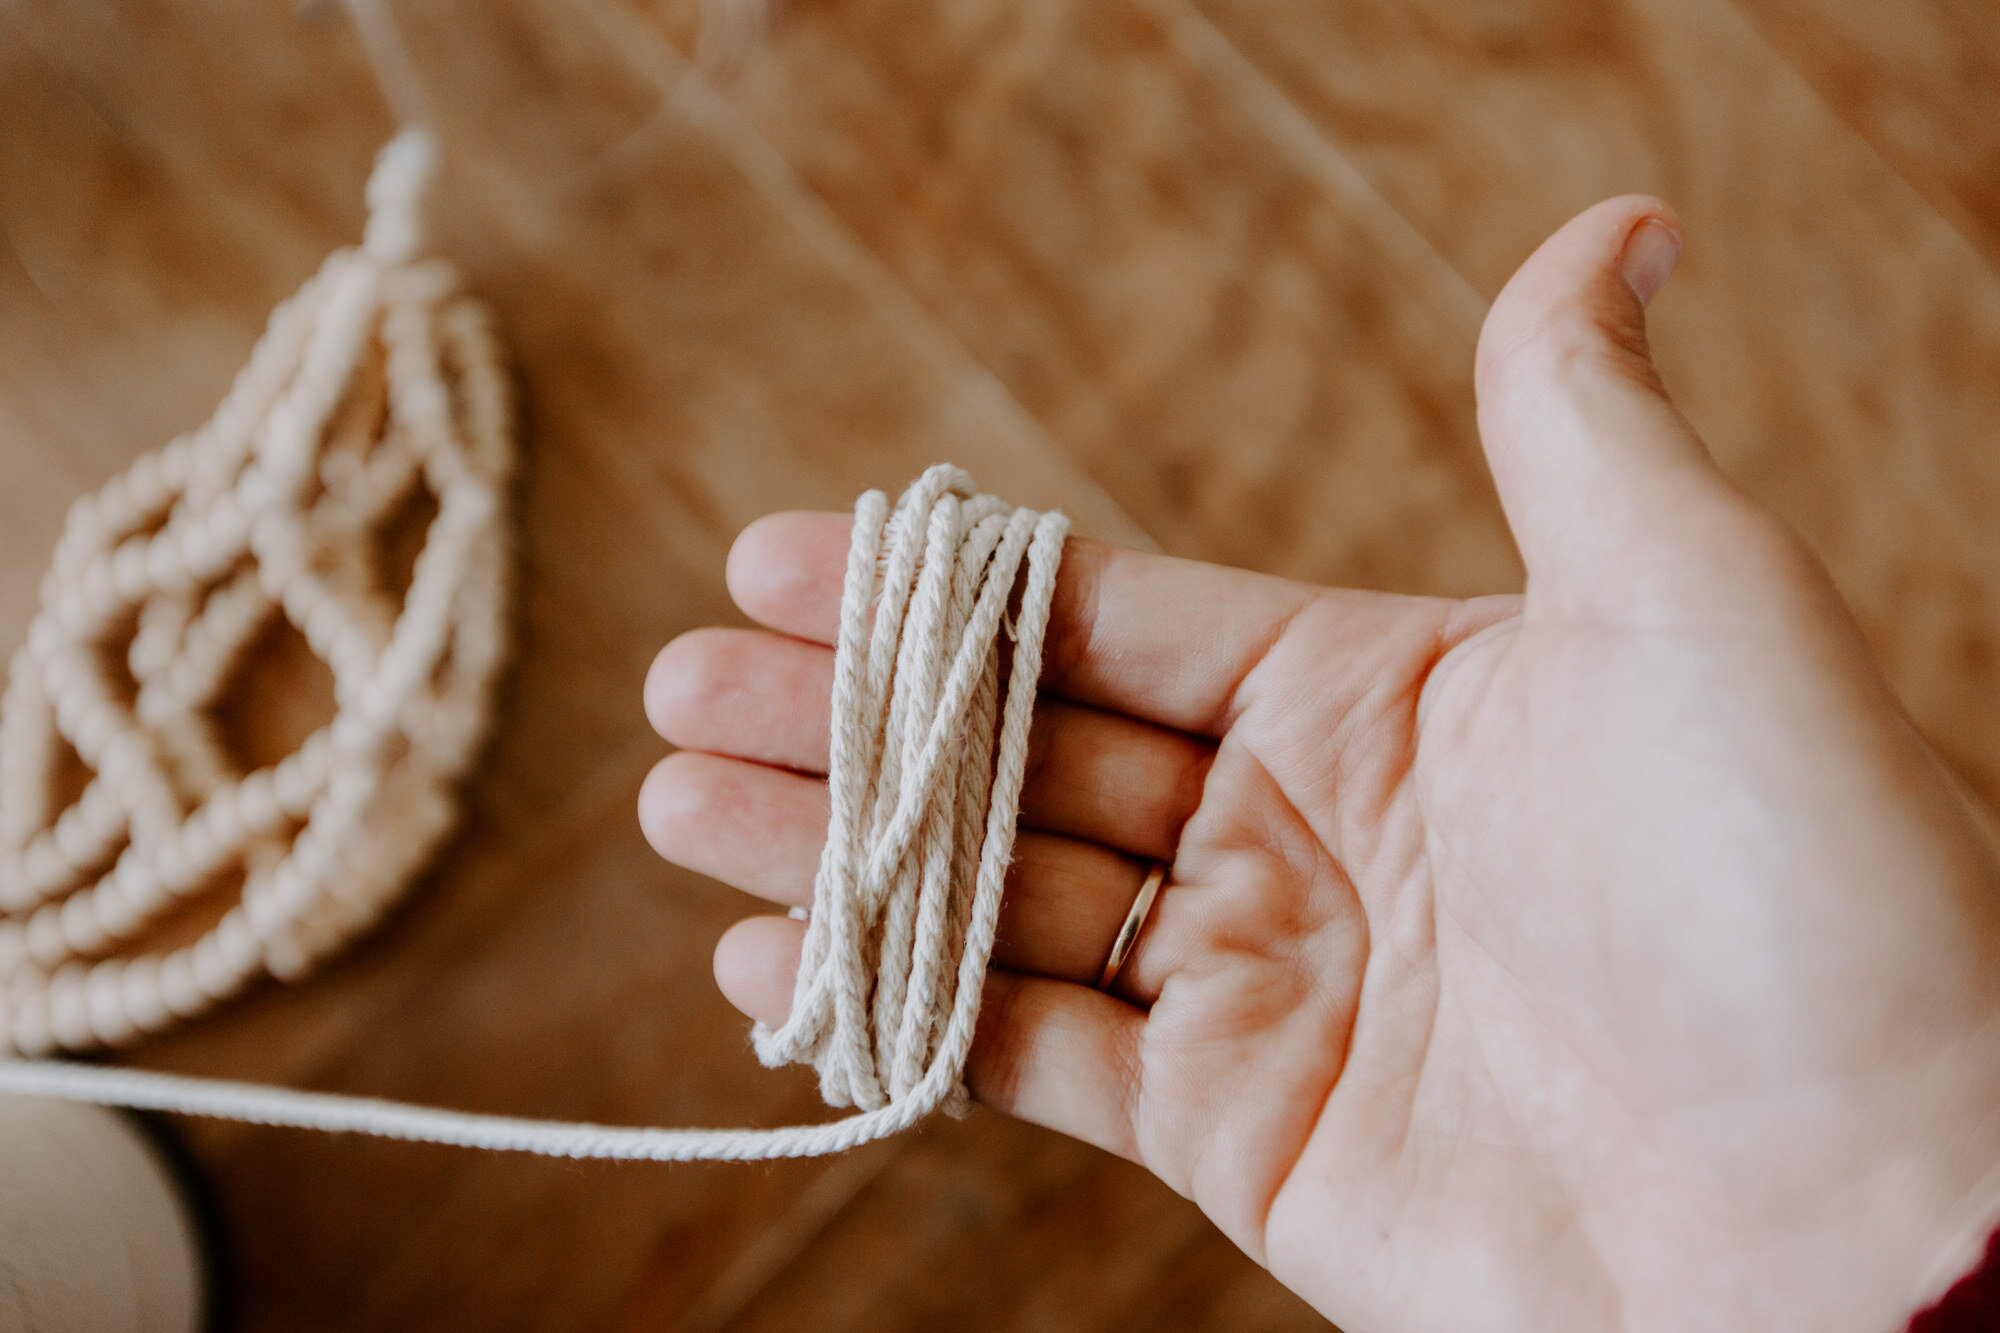
Take your macrame rope and wrap it around your fingers till it’s the thickness you want. I wrapped it 12 times around. Then cut one side of it.

Take one of the strings and tie them all together. Then fold it in half so that you don’t see where it is tied. Take another string and tie it around the top, from there you can just hide the knot under the rest of the strings.


Take the string from the macrame and loop it through some of the strings in the tassel. Tie it off and then cut the excess string.


You’re done!! Find one of your favorite plants and place it through the middle!
